Schedule Overview:
Also See Check In
Note: If multiple employees are involved, we recommend you use the Appointment Builder feature. This needs to be turned on in your Business Settings.
Scheduling one Service Provider
1. On the Schedule screen select the date the client has requested in the calendar at the top left
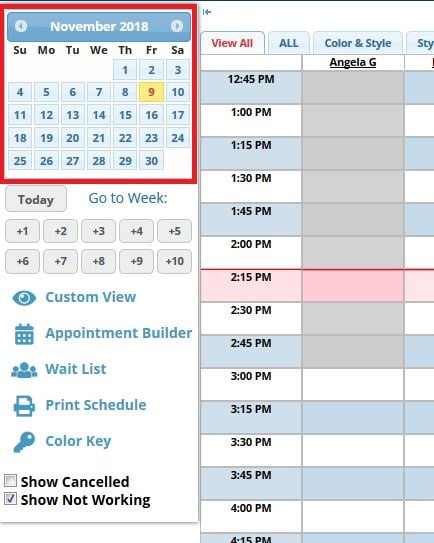
2. Click on the time the client chooses under the employee they would like to be scheduled with
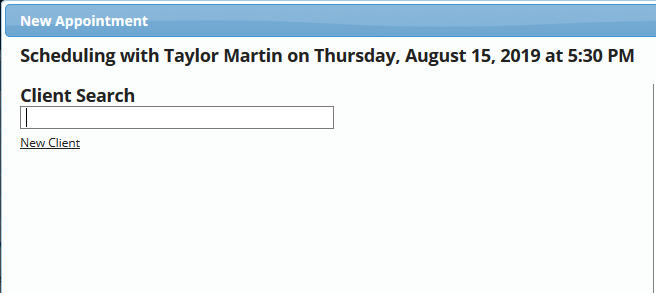
3. When scheduling an existing client, enter the client’s name or phone number in the client search field and select the name from the drop-down
- When scheduling a New Client, click the New Client button below the search field, enter all required information (First Name, Last Name, Phone Number), then click "Create Client" at the bottom
4. Use the Client Type drop-down at the top, right to adjust what type of client is scheduling, (for example: Request, Walk-In, New Client)


5. Use the Appointment Note field to enter a note for this appointment, such as a coupon code


6. Choose the Services to be preformed from the list. (The order in which you select the services is the order those services will be scheduled in.)
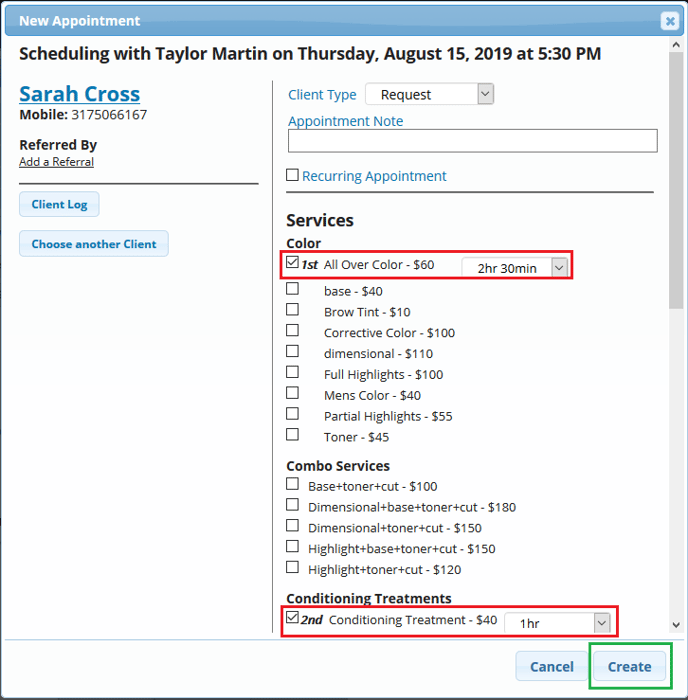
* If needed, you can also change the duration of each service using the time drop-down
7. Click Create at the bottom once done
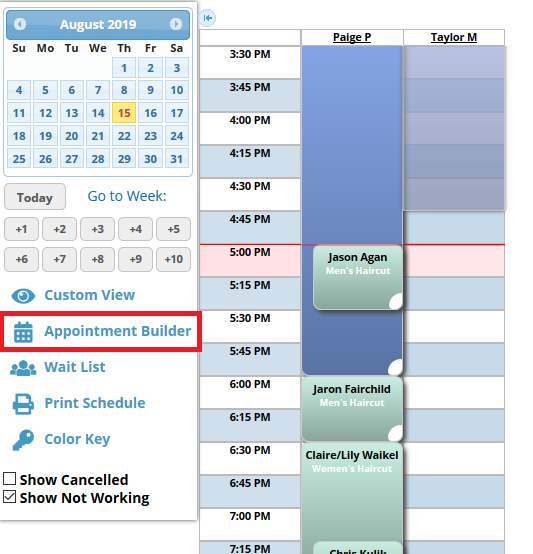
To return to today’s Schedule, click the "Today" button located under the calendar
Scheduling multiple Service Providers:
(Remember to turn on your Appointment Builder feature in your Business Settings.)
If you do not want to use the Appointment Builder, you will schedule each service, (that requires a different provider), separately for the same client.
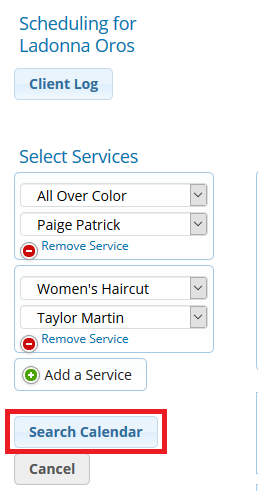
1. At the left of the Schedule page, click the Appointment Builder button

2. Search & select the existing client or add a New Client, then click "Continue"
3. Select each service in the order they are to be received, and select each Service Provider that will be performing each service.
5. Click Search Calendar

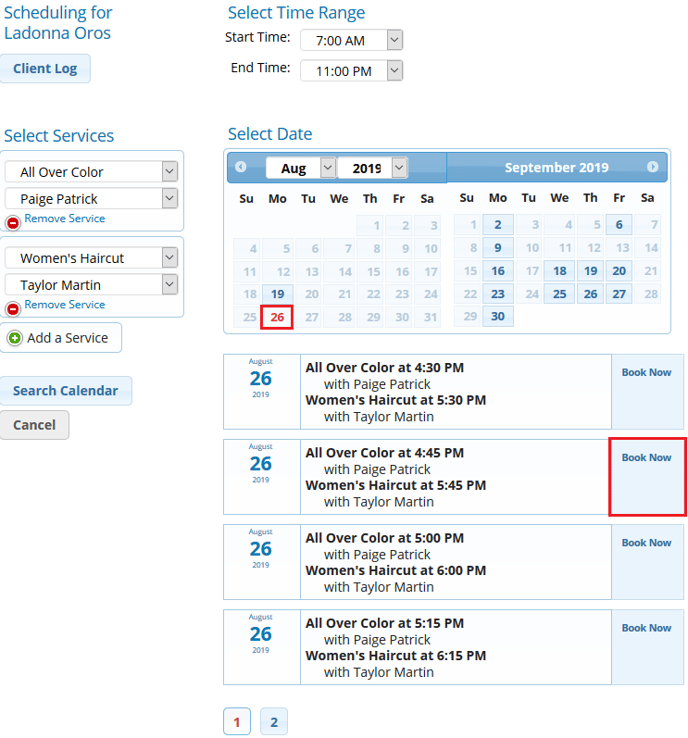
6. Select an available date. Unavailable dates will be grayed out
Note: You can select a Time Range using the drop-downs at the top if the client is looking for particular times
7. Click Book Now next to the opening the client agrees upon
8. From the preview mode, make any necessary adjustments by clicking & holding on the services and dragging them into a new position on the Schedule
9. Click Schedule at the bottom right
Schedule Standing Appointments
Start by following instruction steps 1-5 for "Scheduling one Service Provider"
1. Check the Recurring Appointment box under the Appointment Note field
2. Select the Duration: The time period the recurring appointment will be in effect, (up to 24 months).
3. Select the Frequency: How often the service will be performed, (for example: every 4 weeks)


4. If you are finished with scheduling the appointment(s), click Create at the bottom
Note: If there are any conflicting times, a pop-up window will appear with links to the conflicted dates. Select the links and reschedule the time as you would for any other appointment. Only that day will be rescheduled; it will not affect the rest of the standing appointment.
Editing an Appointment on the Schedule:
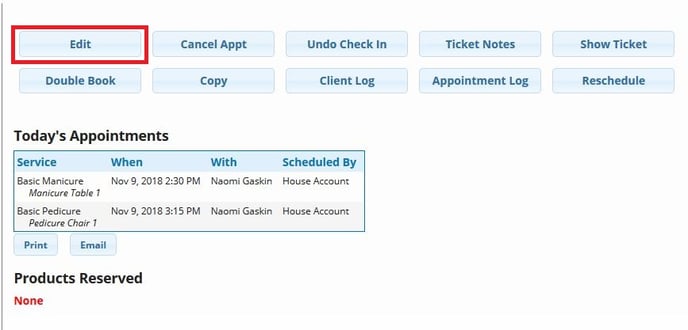
1. Click on the appointment on the Schedule
2. Click Edit
3. Choose the Service you would like to change it to
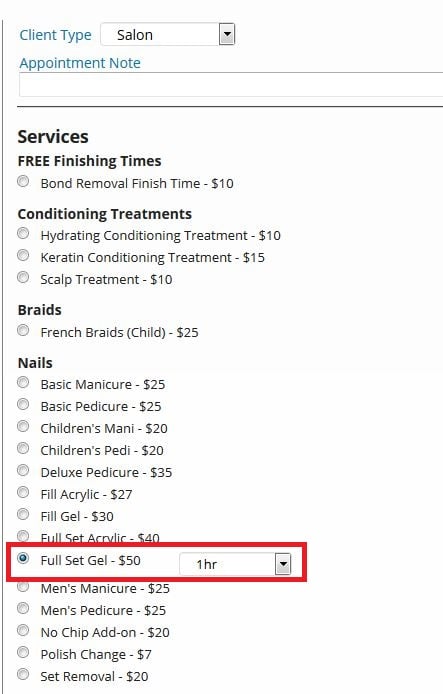
Note: You can only edit one service at a time within an Appointment
4. Click Save Changes at the bottom
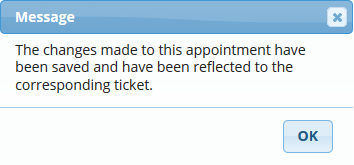
5. If the appointment had already been checked in, you will see this message

Also See Check In
Note: If multiple employees are involved, we recommend you use the Appointment Builder feature. This needs to be turned on in your Business Settings.
Scheduling one Service Provider
1. On the Schedule screen select the date the client has requested in the calendar at the top left
2. Click on the time the client chooses under the employee they would like to be scheduled with
3. When scheduling an existing client, enter the client’s name or phone number in the client search field and select the name from the drop-down
- When scheduling a New Client, click the New Client button below the search field, enter all required information (First Name, Last Name, Phone Number), then click "Create Client" at the bottom
4. Use the Client Type drop-down at the top, right to adjust what type of client is scheduling, (for example: Request, Walk-In, New Client)
5. Use the Appointment Note field to enter a note for this appointment, such as a coupon code
6. Choose the Services to be preformed from the list. (The order in which you select the services is the order those services will be scheduled in.)
* If needed, you can also change the duration of each service using the time drop-down
7. Click Create at the bottom once done
To return to today’s Schedule, click the "Today" button located under the calendar
Scheduling multiple Service Providers:
(Remember to turn on your Appointment Builder feature in your Business Settings.)
If you do not want to use the Appointment Builder, you will schedule each service, (that requires a different provider), separately for the same client.
1. At the left of the Schedule page, click the Appointment Builder button
2. Search & select the existing client or add a New Client, then click "Continue"
3. Select each service in the order they are to be received, and select each Service Provider that will be performing each service.
5. Click Search Calendar
6. Select an available date. Unavailable dates will be grayed out
Note: You can select a Time Range using the drop-downs at the top if the client is looking for particular times
7. Click Book Now next to the opening the client agrees upon
8. From the preview mode, make any necessary adjustments by clicking & holding on the services and dragging them into a new position on the Schedule
9. Click Schedule at the bottom right
Schedule Standing Appointments
Start by following instruction steps 1-5 for "Scheduling one Service Provider"
1. Check the Recurring Appointment box under the Appointment Note field
2. Select the Duration: The time period the recurring appointment will be in effect, (up to 24 months).
3. Select the Frequency: How often the service will be performed, (for example: every 4 weeks)
4. If you are finished with scheduling the appointment(s), click Create at the bottom
Note: If there are any conflicting times, a pop-up window will appear with links to the conflicted dates. Select the links and reschedule the time as you would for any other appointment. Only that day will be rescheduled; it will not affect the rest of the standing appointment.
Editing an Appointment on the Schedule:
1. Click on the appointment on the Schedule
2. Click Edit
3. Choose the Service you would like to change it to
Note: You can only edit one service at a time within an Appointment
4. Click Save Changes at the bottom
5. If the appointment had already been checked in, you will see this message