If you don’t utilize text or email confirmations, or for those who simply prefer to call their clients and personally confirm their appointments, manual confirmation works as so:
1. Start on your Schedule screen
2. Click on the client's appointment
3. Click the Confirm button on the right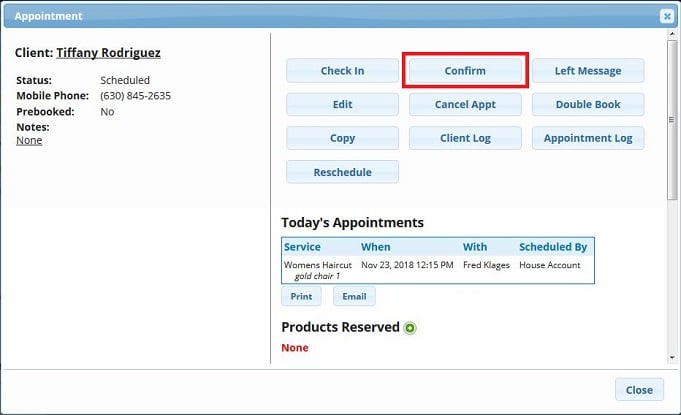
4. If upon calling to confirm the appointment, the client does not answer, click Left Message to record your attempt to contact them!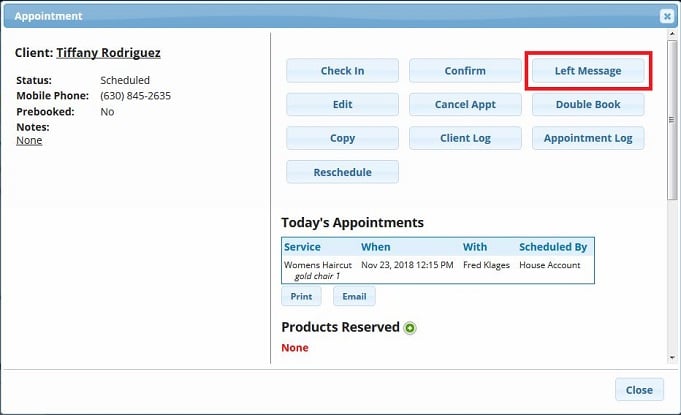
5. If you want to further note your attempt to contact the client for confirmation, we recommend adding an Appointment Note to record whether their mailbox is full, or if it's the wrong number, etc...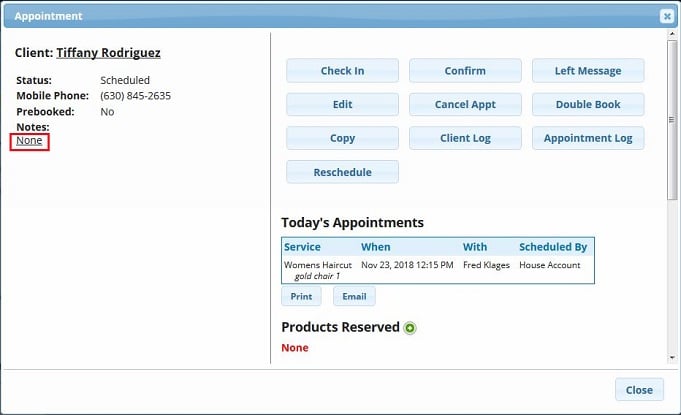
Once confirmed, or left message, the client's appointment will change color to reflect the Color Key found on the left of your Schedule page 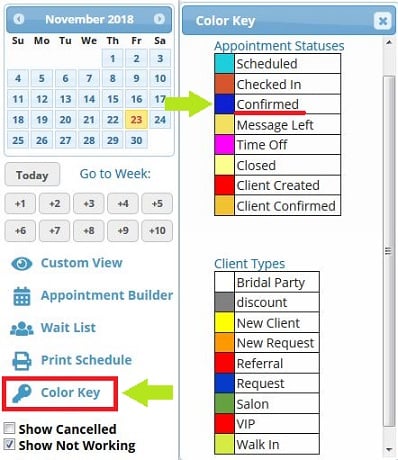
Learn how to adjust your Schedule Colors here!
English