Web Page is your custom branded Online Client Scheduling page that has been optimized for use with a mobile device. It can be used as a stand-alone feature, or in addition to your business page for complete client convenience. Plus it’s free—included in your standard Salon Software package!
Please Note: You’ll first need to set up your Online Client Scheduling preferences if you haven’t done so already.
(Manage > Online Settings > Basic Settings > “Allow clients to book appointments online?”: YES > Save)
Setting up your Web Page:
- Click the Manage tab and select Web Page
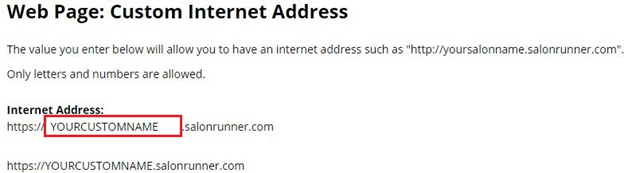
- Create a Custom Domain: Enter the name you want for your Homepage, (typically the name of your business). If your business name is long, you might want to shorten it for client convenience. Use letters and numbers only, no symbols.
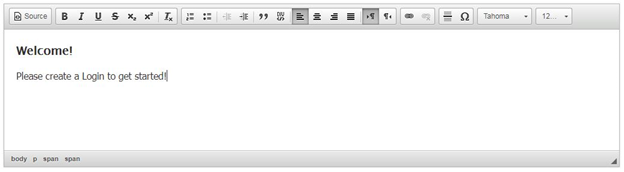
- About Us (optional): Describe your services or anything you want the client to know about your business.
- Enter whatever you wish to, being mindful of capitalization, spelling and punctuation.
- Click Save
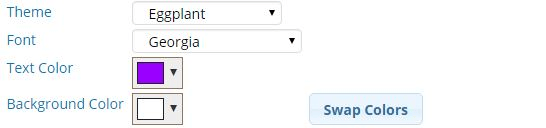
- Choose a Theme: If you’ve already set up your Online Settings, what you choose here will change the theme within Online Settings as well. You’ll be shown a preview of all choices at the bottom of your screen.
- Choose a Theme from the drop-down box
- Choose a Font from the drop-down box
- Adjust the Text Color and Background Color if you wish
- Click Save
- Upload your Logo: Your logo must be a .PNG or .JPG file. The file cannot be larger than 300KB. For best resolution, the image should have a maximum height of 84 pixels and a transparent background. If you do not use a logo, your business name (in plain text) will be used in its place.
- Click Upload Logo
- Choose a file from your computer, and click Open
- Click Done
- Upload an Image: This is an image you want to represent your company on screen. Again, it should be a .PNG or .JPG file and cannot be larger than 300KB. The photo should be able to be cropped to look good in a vertical format as it will be viewed on a mobile device/tablet screen.
- Repeat the same steps for Uploading your Logo
- Business Hours (optional): If you want to show your business hours, select Yes.

- Using the drop-down boxes, choose your Open and Close times for each day
- Click Save
You have now successfully set up your Web Page, allowing clients to schedule online using their mobile device or tablet!
To Preview your Web Page:
Click the Preview your Web Page link within “Web Page Settings”.

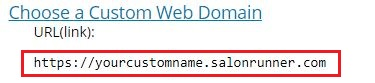
Your URL (Web Page address) is shown under the “Choose a Custom Web Domain URL Link”. Highlight, copy and paste it anywhere a link can be added (emails, social media, personal text messages, etc).