This is the first step to adding in Products manually. The process is generally the same for Brands and Distributors.
Adding a New Brand:
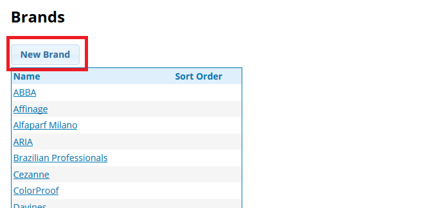
Proceed to: Manage > Inventory > Brand
1. Click the “New Brand” button
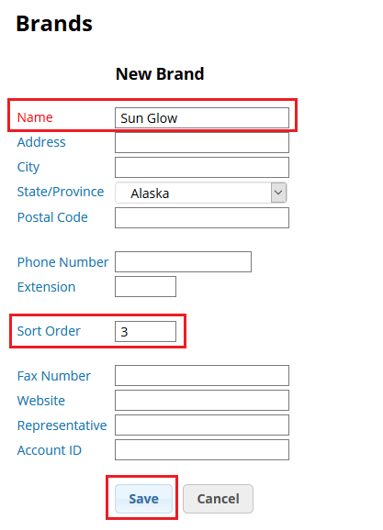
2. The Brand Name is the only field that is required. The rest are optional.
3. The Sort Order field will control where the Brand is located within your Products list
4. Click Save once finished
Adding a New Distributor:
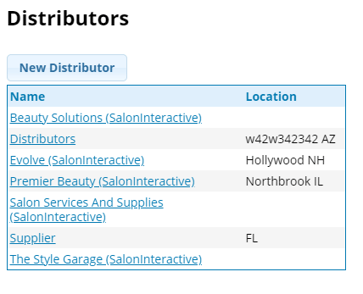
Proceed to: Manage > Inventory > Distributors
1. Click the “New Distributor" button
2. The Distributor Name is the only field that is required. All other fields are optional.
3. Click Save once finished
4. Continue to adding Product Groups
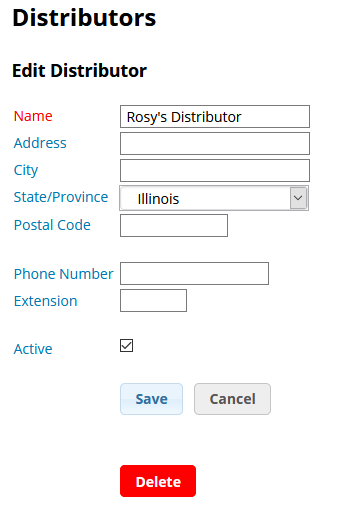
Editing a Brand OR Distributor:
1. Proceed to: Manage > Inventory > Select Brands OR Distributors
2. Click the name of the Brand or Distributor you are looking to edit
3. After any necessary changes are made, click Save
Deleting a Brand OR Distributor:
1. Proceed to: Manage > Inventory > Select Brands OR Distributors
2. Click the name of the Brand or Distributor you are looking to delete
3. Click the red Delete button at the bottom
Notes:
- If you're looking to delete a Brand, you'll first need to make sure there are NO Products currently assigned to that Brand.
- You cannot delete a Distributor that is attached to any Products you've downloaded from SalonInteractive but you will be able to mark it as inactive (by unchecking the Active box).