When a product is discontinued, whether by the manufacturer or because you no longer wish to carry it, it's status should be changed to “Inactive”. It will no longer show when you proceed to add products to a sales ticket.
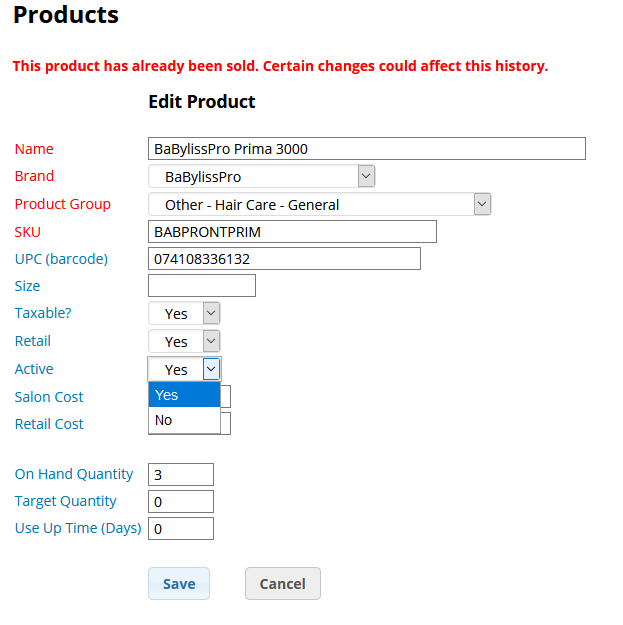
If Inactivating just ONE or two products:
Proceed to: Manage > Inventory > Products
1. Change "Active" to NO
2. Click Save

If Inactivating a Handful of Products:
Proceed to: Manage > Inventory > Mass Update
1. If needed, utilize the Filters box at the top to view only the Brands and/or Product Groups, (etc) you wish
2. Change the drop-downs in the "Active" column to NO
3. Click Save Changes at the bottom of each page before continuing to the next

Deleting Products:
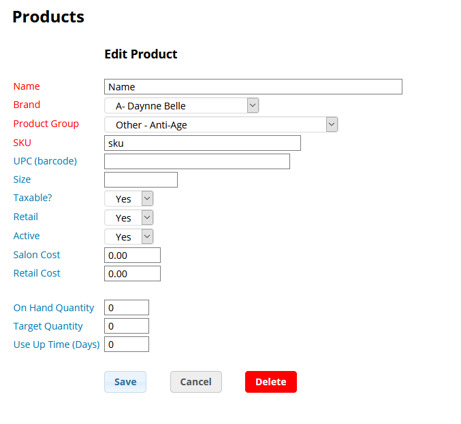
If the product has not yet acquired any usage history in your account, you will be able to delete it.
(Manage > Inventory > Products > Click on the product name)

On the other hand, if the product has been sold in the past, added onto an Inventory Use ticket, etc... it cannot be deleted!
However, you can sort inactive products to the bottom of your Product list in order to organize them better
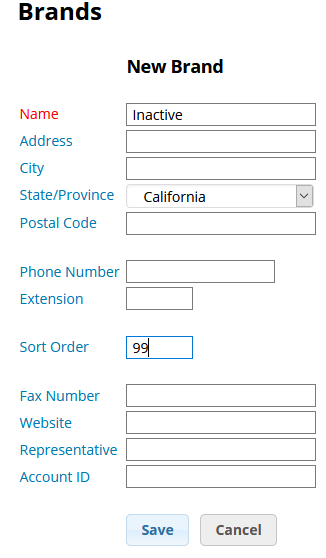
1. Manage > Inventory > Brands > New Brand > Name: INACTIVE > Sort Order: 99 > Save

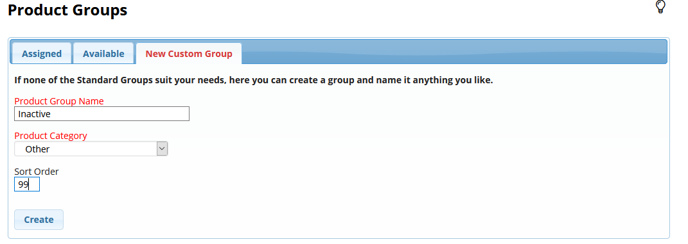
2. Manage > Inventory > Product Groups > New Custom Group > Name: INACTIVE > Category: Other > Sort Order: 99 > Create

3. Manage > Inventory > Mass Update
4. If needed, utilize the Filters box to view only the Brands and/or Products Groups, (etc) you wish
2. If you have not already, change each product drop-down under the "Active" column to No
3. Change the "Brand" drop-down of each product to "INACTIVE"
4. Change the "Product Group" drop-down of each product to "Other - INACTIVE"
5. Click Save Changes at the bottom of each page before proceeding to the next
All Inactive Products you have adjusted will now be grouped at the bottom of your Products list!

