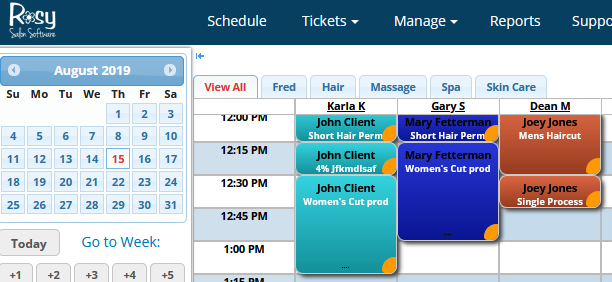
Set up Departments for easier scheduling in a large Salon and/or Spa. Tabs at the top of the Schedule screen allow you to view one department at a time or all at once in the order that’s relevant to your business.

Start by going to:
Manage > Advanced Settings > Manage (under Departments)
Adding a New Department:
1. Click "New Department"
2. Enter the Department Name
3. Choose it's Sort Order on the Schedule
4. Click Save
(Once you are done adding the new Department, it will take you back to the main Departments page.)
Assigning Employees to Departments:
Remain on the main Departments page to start
1. Click the blue "Assign them to Employees" link at the top of the page
2. Next to the employees' name(s), choose their Department from the drop-down
3. Click Save at the bottom once all employees are assigned
Note: An employee can only be assigned to one Department.
Editing a Department:
Once you have created a Department, you can edit it by changing it's name and/or it's Sort Order on the Schedule
1. On the main Departments page, click on the name of the Department itself
2. Adjust it's Name and/or Sort Order
3. Click Save
Deleting a Department:
You can only delete an Department that does not have any employees assigned to it
1. On the main Departments page, click on the name of the Department itself
2. Click the red "Delete" button at the bottom